Sourdough Starter Recipe
Give your sourdough starter about five minutes of your time for 6 days. In the end you will have a wonderful living starter that you can keep alive, gift others, or use it up.
Prep Time30 mins
Ingredients
To begin
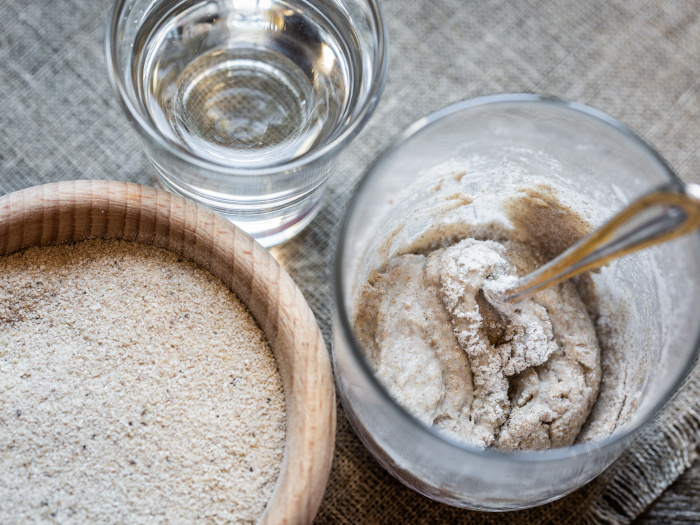
- 4 oz wholewheat flour
- 4 oz water
To feed the starter
- 4 oz all purpose flour
- 4 oz water
Instructions
- You will start with equal amounts of water and flour, feeding the starter daily. You will need a kitchen scale and a glass jar with a loose lid. Alternatively, use a glass jar and cover it loosely with a kitchen towel. I have included a 6-day schedule which is the time it took me. But a colder environment can take longer. So, don't worry if your progress is a little slower than mine.
- Day 1: Mix the flour and the water in a glass jar. Stir vigorously with a spoon to ensure that all the flour is incorporated. Cover it loosely with the lid. It will look and feel thick and sticky. Keep the jar in a warm, dry place.
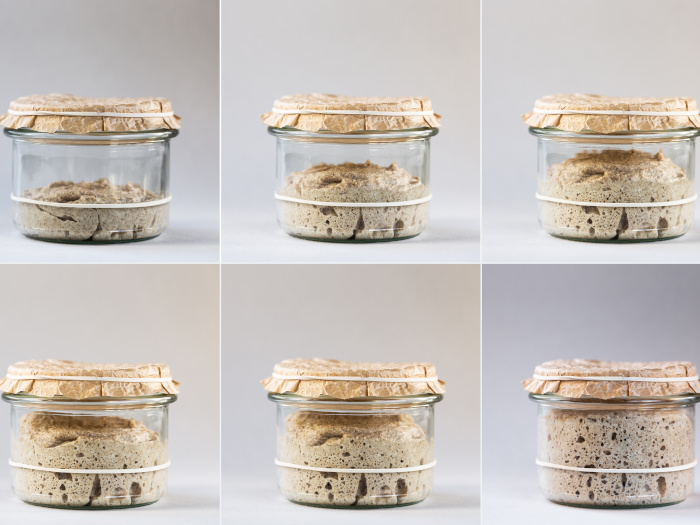
- Day2: Now you start feeding the sourdough starter. You should be able to see one or two bubbles. If you cannot see any, don't worry. Depending on the conditions of your kitchen, it may take a bit more time.
- Weigh the jar and discard half the batter. Now add in the equal amounts of flour and water (4 ounces each) for today and give it a thorough mix. It should be thick and sticky. Cover it and keep it aside.
- Day 3: Your starter should start showing signs of life with bubbles. It should also be visibly larger in volume with a slightly sour and musty smell. Now it's all about the same story. Weigh your jar, discard half the starter and feed it flour and water for today (4 ounces each). Again, make sure all the flour and water is mixed thoroughly. You may hear the bubbles popping.
- Day 4: Your starter will start to expand more and more as you get ready to feed it. By now you've got the drift. Weigh the jar, discard half the starter, feed it the assigned flour and water for today and leave it.
- Day 5: Need we say it? Weigh and repeat.
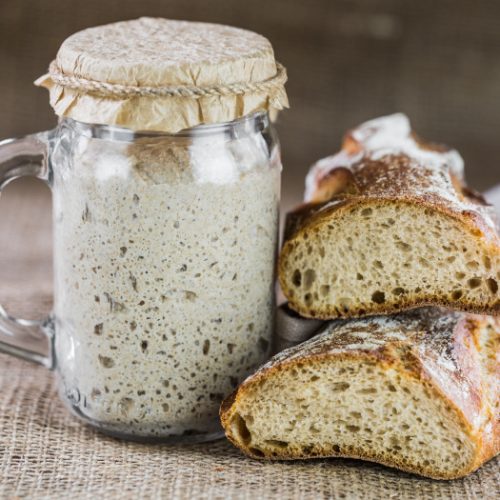
- Day 6: By now your starter must have doubled in size since yesterday. It should look bubbly, frothy with that trademark sour aroma. When you move your spoon through the batter, it will feel less gloopy. Your starter is ready to use!
Notes
- I used wholewheat flour because it is rich in microorganisms. But you can use all-purpose, rye flour, or any flour that you want. Go ahead and use a mix for a multigrain bread.
- I have laid down a 6-days schedule. But this can take as much as three weeks. Keep discarding and feeding the starter. You will eventually get there. The key is to look for the bubbles and the rise in volume.
- This starter should be used within 2-3 days. You can maintain this starter for as long as you want by feeding it everyday. But, if you are not feeding it, refrigerate it to keep it alive. It should be all right for years, provided you feed it at least once in two months.