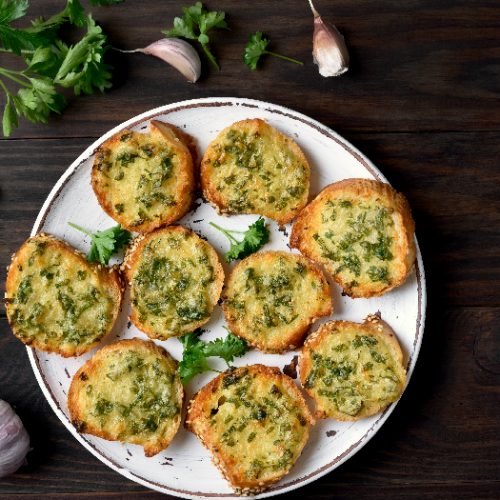
Toasted or baked bread layered with garlic and butter indeed makes for an indulgent snack post-workout, as an appetizer before dinner, or just as a break between meals. And well, what is spaghetti without that side of cheese-filled garlic bread? Slurp. In this article, we learn the perfect garlic bread recipe for anyone looking for a tasty treat. Let’s take a look.
How To Make Garlic Bread?
The garlic bread was inspired by Bruschetta in Italy, around the 15th century. It has since grown in its reach and is now widely consumed in Europe, America, and the rest of the world. It is known by various names, such as Knoblauchbrot in Germany and Chapon in France. In Greece, it is often consumed with olives and onions and in North America, garlic bread usually goes side by side with pasta, lasagna, or spaghetti. It is popular in pizzerias and cafes alike.
Now there are many different ways in which you can prepare garlic bread at home, however, in our recipe today we learn to make cheese garlic bread with oregano and chili flakes, hoping it turns out to be the easiest and yummiest recipe out there. Made with sourdough (You can check out how to make sourdough bread here) or baguette in a toaster, grill, or oven, garlic bread is stuffed with minced garlic (Learn how to mince garlic here), butter or olive oil, herbs, and cheese. Full recipe below.
How to Make Garlic Bread
Ingredients
Garlic bread dough
- 1/4 cup milk
- 1 tsp yeast
- 1 tsp sugar
- 1 pinch salt
- 3 cloves garlic finely chopped
- 1 tsp oregano
- 1 tsp butter unsalted
- 1 cup all-purpose flour
- 2 tsp oil
Garlic butter
- 1/4 cup butter melted
- 3 cloves garlic finely chopped
Other
- 3 tbsp plain flour
- 1/4 cup mozzarella
- 2 tsp chili flakes
- 1 tsp oregano
- 1 tsp mixed herbs
Instructions
Garlic bread dough
- To make your dough for garlic bread, you need to first mix warm milk, yeast, and sugar in a bowl and then let it rest for 5 minutes.
- Now add salt, garlic, and oregano to the mix and stir well.
- Once everything has been mixed properly, add the all-purpose flour and butter to it and start kneading. After your dough is ready, coat it with oil and let it rest for 2 hours.
Garlic bread recipe
- Take a small bowl and mix butter and garlic in it.
- Next, spread the buttered garlic over your dough and top half of it with mozzarella cheese. Season it with chili flakes, oregano, and mixed herbs.

- Now, fold the dough and seal it from the edges. Again, spread garlic-infused butter on top of it. You can also sprinkle oregano and chili flakes over it. Make marks on the top of the bread where you want to cut it.
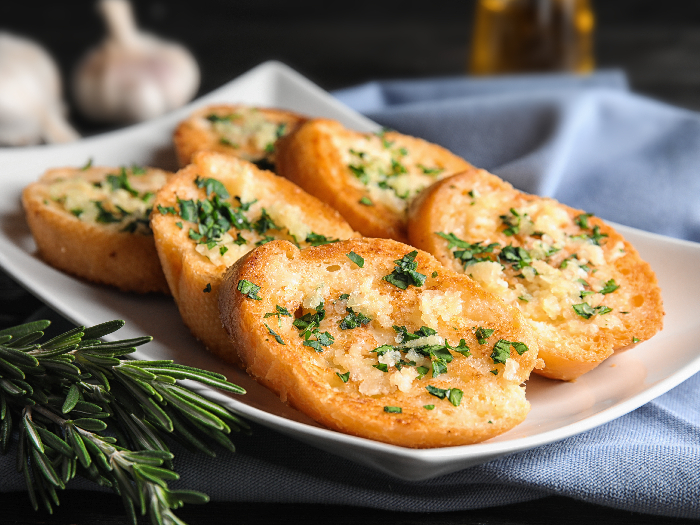
- It's time for the final step now. Bake your bread in a preheated oven at 180 degrees F for 15 minutes. Your garlic bread is ready now, cut it into pieces, and serve hot.
Notes
- For crispy garlic bread, you need to cut your bread into two halves, spread it with butter, and then bake it face-open in the oven. Once baked, you can then broil it for an additional texture.
- For soft garlic bread, slice your bread but do not cut it to the bottom. It should look somewhat like an accordion. Butter the bread in between, wrap it in a foil, and then bake it. This will ensure that your bread remains soft.
How to Store?
Garlic bread is best eaten fresh out of the oven, whether it be crispy or soft, however, if you want to prepare ahead for an occasion, here is what you need to do. Prepare your garlic bread up to the baking stage (If you are new to baking, here is Baking 101, with all the baking tips you need) and then wrap it in foil and keep in the freezer. You can store it like this for up to three months without it going bad. And then whenever you want to eat, follow the above recipe instructions.